Google Maps has become a potent tool for all businesses present across the world, enabling them to integrate maps, geo-location services, and place searches into their applications and websites. Whether you want to develop a location-based service, want to improve your customer experience, or display the location of your business, in all these circumstances, a Google Maps API key enables you to connect with the vast services that Google Maps provides.
A Google Maps API key is like a password that allows a website to display interactive maps from the Google Maps Platform. If there is no key, then the website will show an error when you try to add a Google map on one of the pages. However, Google provides an instructional video to guide the creation of a Google Maps API Key.
What is an Google Maps API key?
An API key (Application Programming Interface key) is a unique identifier used to authenticate a project with the API. You will get the flow with a Google MAP API key:

- You can access and utilize regional location data.
- It provides you access to excellent documents like tutorials, projects, tags, an issue tracker, guides, and much more.
- It provides a cross-platform Google Maps URL solution for launching maps or initiating actions.
- You can create custom maps with excellent styling tools.
- It helps you take on-demand rides and track deliveries.
- It generates 3D objects on your map.
- It records the number of views of the map on your website.
- But here, you will get the right guide in some simple and easy steps.
Step 1: Sign in to Google Cloud
Sign in to the Google Cloud Platform with your Google account. Simply, if you don’t have a Google account, it is easy to create one.
Step 2: Create a project
The next thing is to create a project. Projects are used to organize and manage your API keys, so you need to make a dedicated project for your specific website or application for which you want to make a Google Maps API key.
Then click on the tab ‘select a project’ in the Google Cloud console.
After clicking on the tab, a window will pop up. In the new pop-up window, you need to select the tab ‘New project’.
This allows you to give a meaningful name to your project so that you can easily identify it later on without any struggle. Like – you can use the name of an application, website, or client to create a meaningful name for it.
You need to select a billing account. Each project should have an associated billing account. However, you don’t have to worry about the billing since Google provides $200 for monthly free usage, which is generally enough for all small businesses.
Now, in the ‘New Project’, once you complete adding all the details, click on the ‘create’ tab.
Step 3: Create a key
Now, this is the primary step when you have to create a key. In this step, you need to find out the ‘keys and credentials’ from the sidebar in the Google Cloud console.
Here, you may be required to enter some personal or billing details. When entering billing details, you don’t need to be afraid because no amount will be deducted unless you are upgraded to a paid account. So, you don’t have to worry about the fee when entering the details.
Now, enter all the details fear-free and receive your API key.
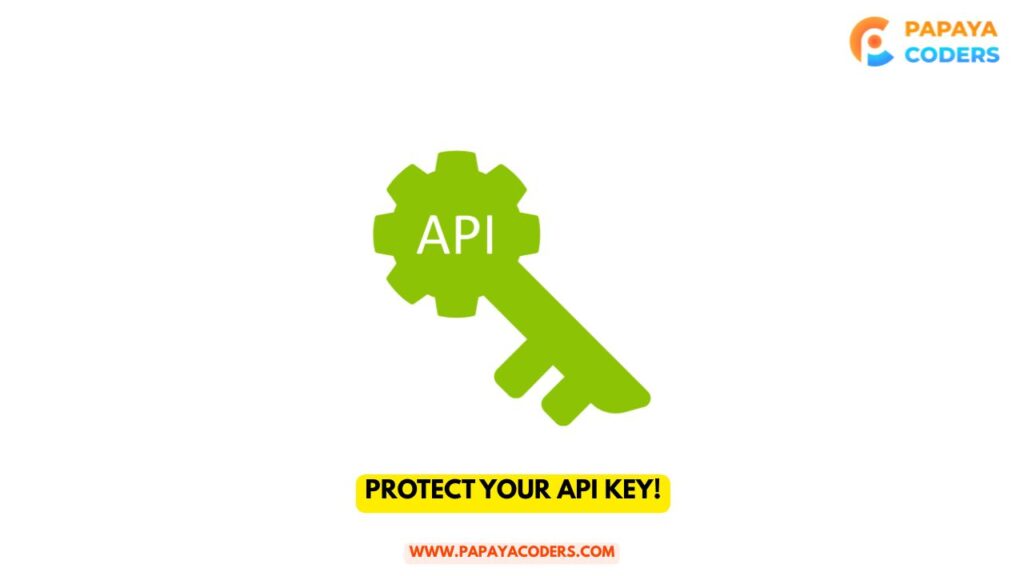
Protect your API key!
It is essential to protect your API key to prevent unauthorized use. If you don’t apply any restrictions, then anyone who gets to know about the API key can use it or can potentially rack up unwanted charges. So, to do this, go under the API key settings and choose the restricted key.
To restrict key, you need to add the domain names where you will be using the API key like if your website is example.com so you can domain it as .example.com to cover all the sub-domains.
Now, you have to save your changes. Keeping these restrictions in place, your API key will work for the specific domains, which adds a layer of security.
How to troubleshoot maps?
Have you added your own API key but are experiencing some issues? Then here you can check out some of the possible ways to fix things.
• First of all, confirm that you have actually entered your complete and unedited API key into the correct settings field on the Events, then Settings, and Integrations screen in WordPress.
• Next, you need to head to your Google Cloud Platform Maps API management page and then select the project where your API key belongs. Confirm that the Geocoding API, and Maps Embed API show up in the Enabled APIs.
• If you still find the same issue, then you can contact Google’s support team by clicking the support tab in the left-hand sidebar.
• Finally, you need to confirm that your venues have valid longitude and latitude data if you created venues before adding your own custom Google Maps API key.
Read also:-
- What benefits are there for using emojis in digital marketing?
- Reviewing a Digital Marketing Manager’s Role: Effect on Organizational Growth
Bottom line!
Now, you have understood how easy it is to generate your Google API key for free. So, it is just the perfect time to start your business. If you are able to implement these steps and processes, you will experience an ongoing consistency in engagement and growth. To generate and set a Google Maps API key. follow these steps: