Interactive programs or games in Python are more engaging when they can detect the user’s intended actions.
Obtaining user input from the keyboard is a significant feature, and it is here that the getkey() function plays a major role. It assists in recording the keypresses live; thus, it can be done. For example, moving objects, triggering actions, or closing windows immediately.
The function getkey() is the one that gives life to your graphics if you are creating a game or an animation for learning purposes.
What is getkey() in Python?
With the getkey() function, the program is in the ready state to identify the key that was pressed on the keyboard.
In contrast to input(), which halts the program until you press Enter, getkey() is a function that instantly finds and reacts to pressed keys.
The prompt identification in real-time is the reason why it is chosen for interactive programs where speed of reaction is essential, such as games, animations, and simulations.
So, after a user hits one of the arrow keys, your program is able to find that event immediately, and the consequent action would be moving the object in that direction. Being able to provide such a fast response is what programs are designed to do when they are said to be interactive and attract users.
Why Use getkey() in Graphics Programming?
Writing graphics programs in Python typically involves sketching, picturing, or using a user-friendly tool or window. Say, a window with either a ball or a square is your creation. Now, let me ask you, how would you want the user to move that object? The answer to the last question specifies the role of a getkey() function.
By using getkey(), the program can easily determine that the keys “up,” “down,” “left,” or “right” have been pressed and then move the object accordingly.
You are allowed to set the keys for the given tasks, such as changing the colors of shapes or closing the window. In fact, getkey() facilitates the transfer of static photos into motion; these visuals now represent the user’s interaction, demonstrating that they follow the commands that have been given.
Setting Up the getkey Library
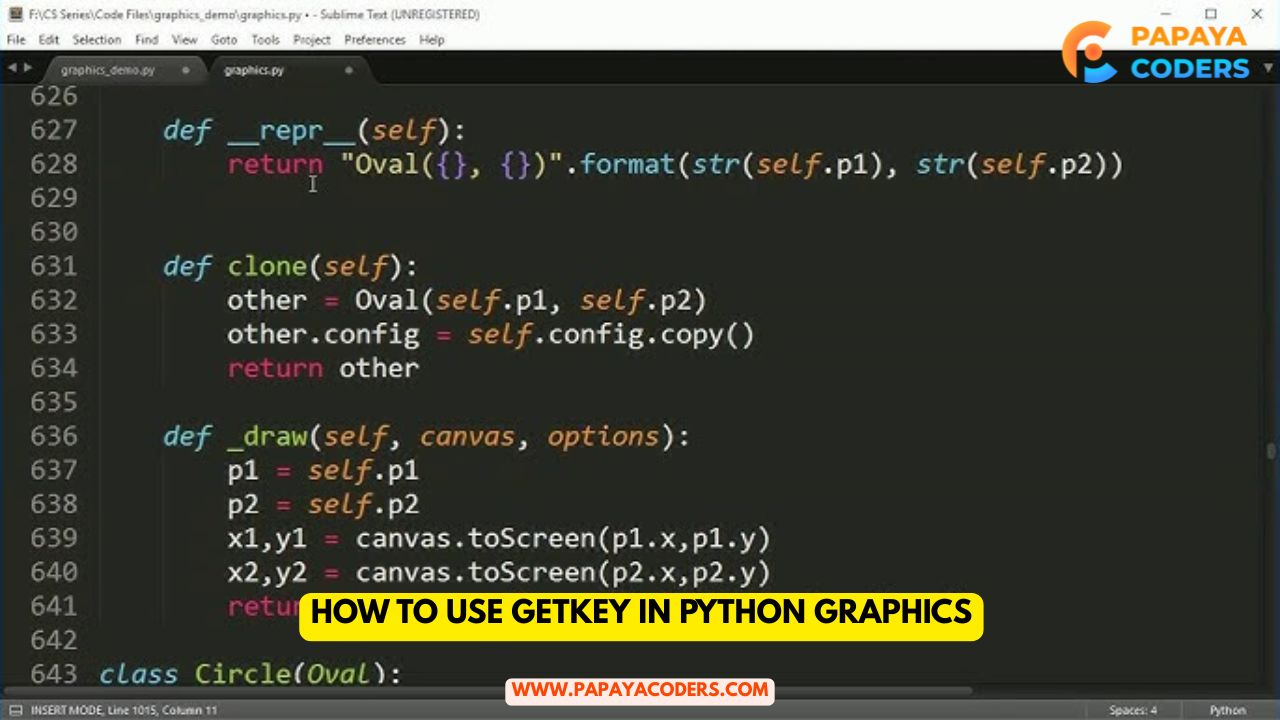
If you are not using an advanced Python IDE, it is necessary first to install the getkey module. After installation, it can be used alongside other packages, such as graphics.py or turtle, to enhance the interactivity of your creations.
The graphics.py module in Python has a function named getKey(), which operates similarly; it waits for the user to press a key before proceeding. They are both means of accomplishing the goal of determining which input the user has provided in graphics programs.
How getkey() Works in Graphics Programs
We can take a simple graphics program that draws a circle on the screen, for instance, to clarify the working of getkey(). Additionally, users can use the arrow keys to move the circle in any direction they want. The use of getkey() bridges this gap in the following ways:
1. A graphical window is opened through a library like graphics.py.
2. A drawing (for example, a circle) is done at a certain point.
3. The application jumps into a while loop, thus it can keep on waiting for key presses from the users.
4. In case someone has hit a key (let’s say “left arrow”), getkey() finds out about it immediately.
5. The software then alters the location of the circle by changing its x and y coordinates.
6. The figure that is changed is being shown, thus the movement can be seen at the moment.
Such a cycle continues till the user is done with the program, which he/she can usually signal by pressing a certain key, such as “q” or “Escape.”
Advantages of Using getkey()
- Immediate input detection: The procedure of capturing keystrokes is performed immediately after the keys have been pressed, without the need to press Enter.
- Live interaction: Getkey() is suitable for games and GUIs that require fast responses.
- Accepts special keys: The arrow keys, escape, or function keys are examples of what getkey() can recognize.
- Simple to implement: The code is neat and easy to manage, especially when utilizing graphics libraries.
- System compatible: Used on Windows, macOS, and Linux computers.
Such features put getkey() at the top of the developer’s toolkit when building user-driven and engaging programs without the hassle of complicated event handling.
Best Practices for Using getkey()
1. Efficient use of loops: Wrap getkey() in a loop so that the program keeps waiting for inputs unless the user decides to exit.
2. Exit point(s): Be sure to designate a key for the user to close the app with ease.
3. Also put in short waits: By putting in a brief pause after every move, you can have nice transitions as well as prevent the screen from flickering.
4. Show instructions clearly: Giving phrases like “Press arrow keys to move, press Q to exit” helps users get along with the program more easily.
5. Prepare for unanticipated inputs: Incorporate invalid key conditions in order to stop errors.
By using these prescriptions, you will develop programs that are not only cleaner and smoother but also more user-friendly, as they will respond correctly to key presses.
Read also:-
- What is the function of a Digital Marketing Strategist? Roles and advantages for businesses
- How to Attract SEO Clients for Your Digital Marketing Agency
Conclusion:-
It may seem as though the getkey() function does little; however, this is one of the most effective means Python offers for creating interactive graphics.
Its main merits are real-time key detection, lubricant control, and dynamic behavior —essential ingredients of a great visual program.
What if you are just doing a minor project that needs to move an object or construct a full-fledged game? Then, grasping the usage of getkey() will open the door to interactivity in programming. Once committed, you will realize even the simplest programs can be much more exciting than before, when users can interact with them through their keyboard.